Tiger resto in NZ

Tiger tamer

Gold forum user
Messages
318
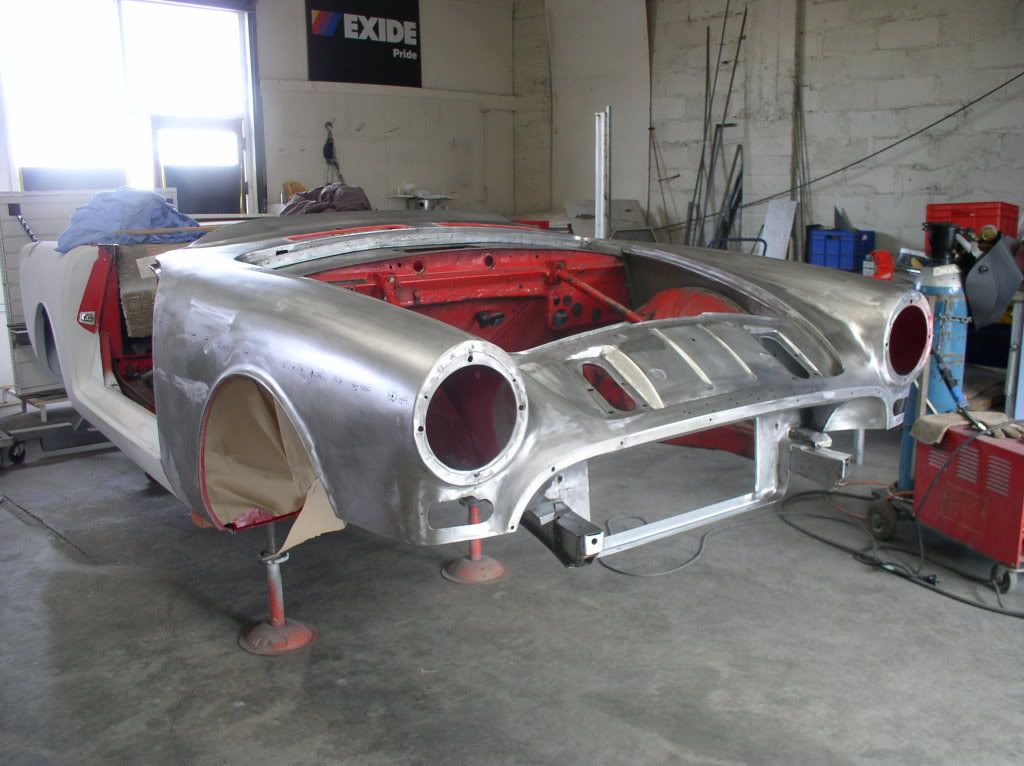
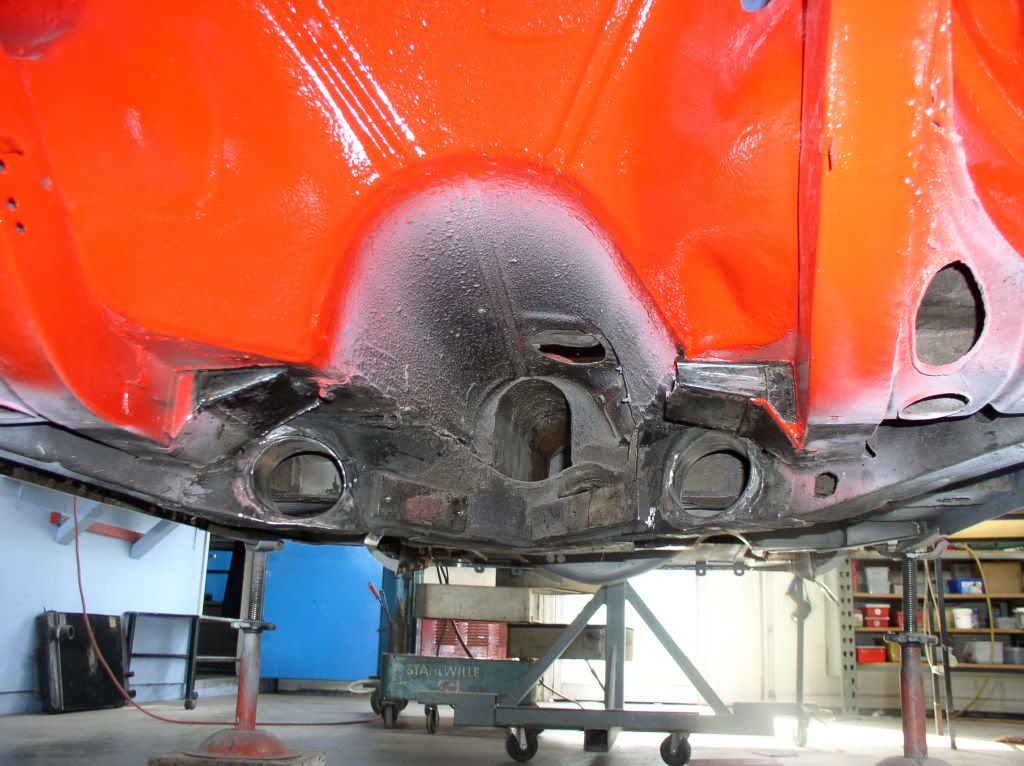
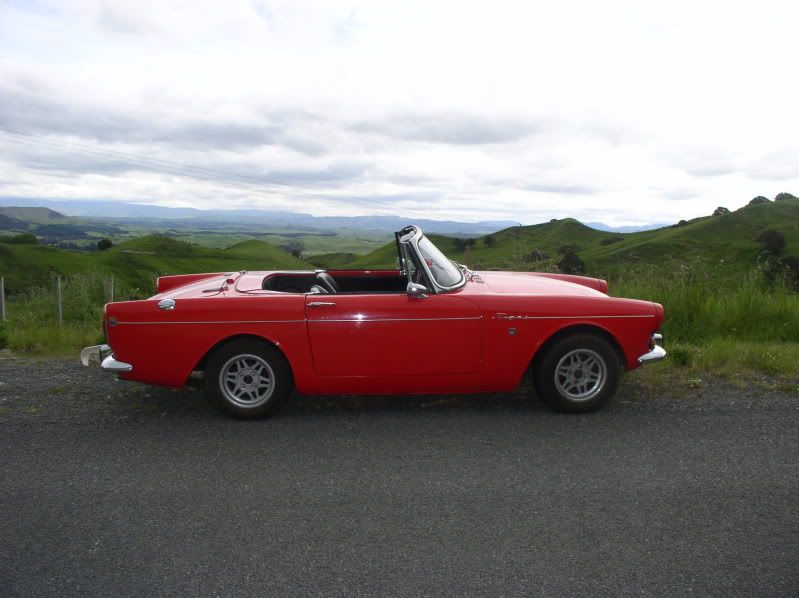
The car as imported from Germany. Had some issues but didn't look to bad.
The car is a RRO car, but was first registered in Germany in 1966.

P1010081.jpg


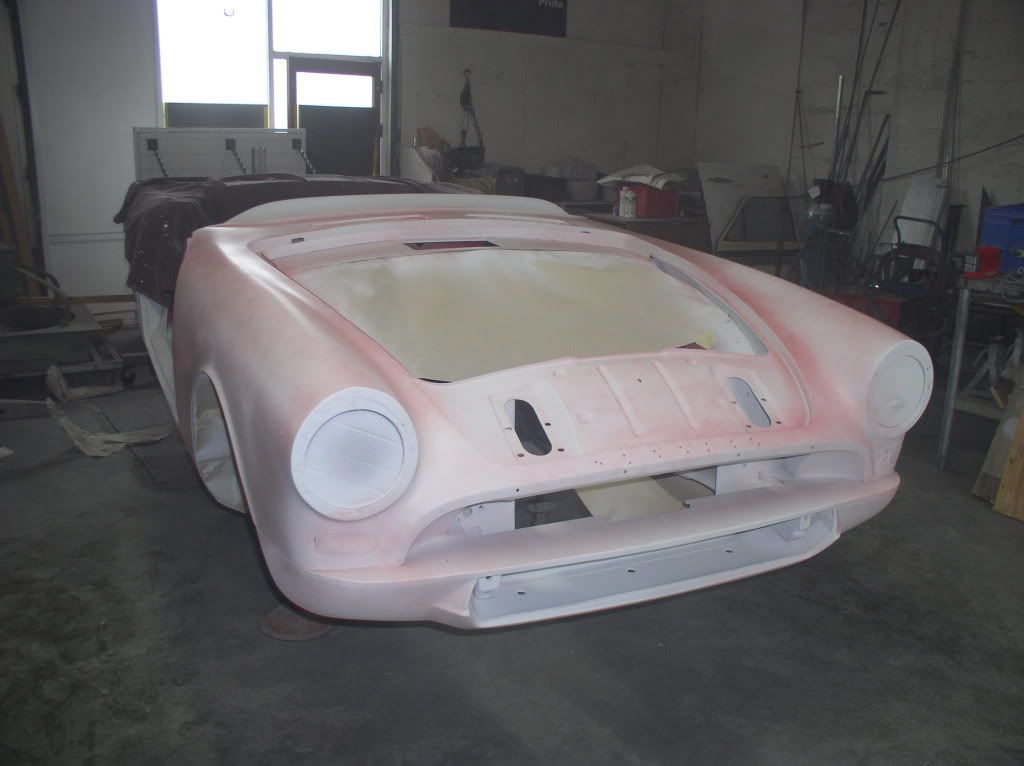
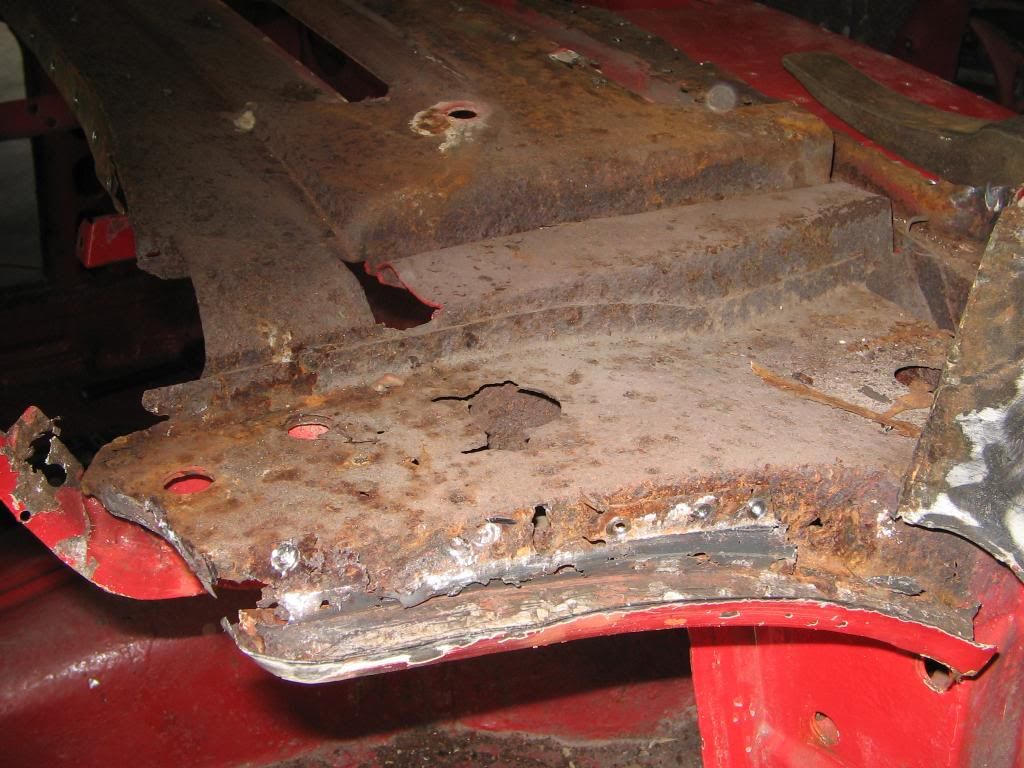
I thyought I would get those two rust bubbles fixed that were under the windscreen :). The wife thought that would be a good idea :).

003.jpg


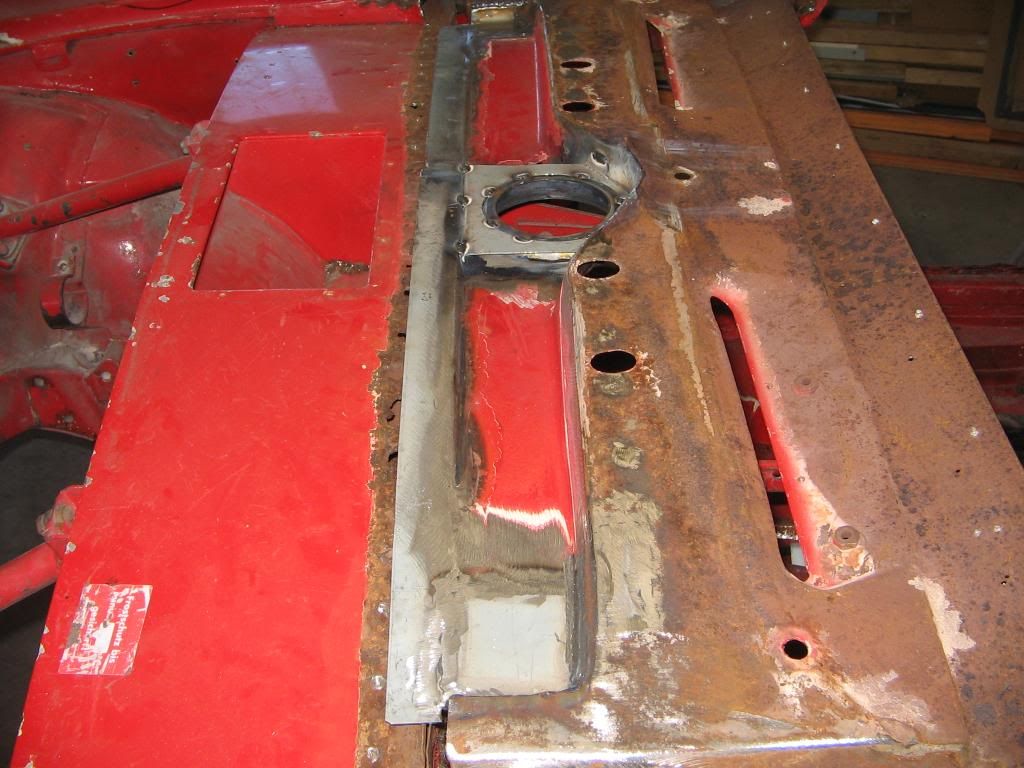
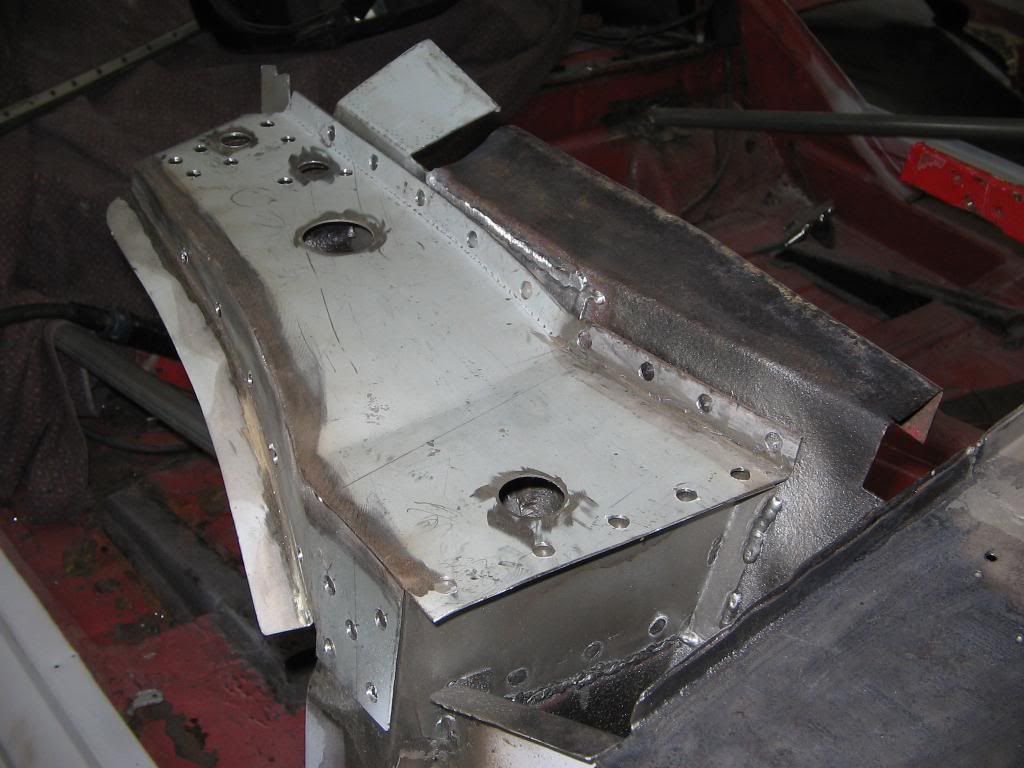
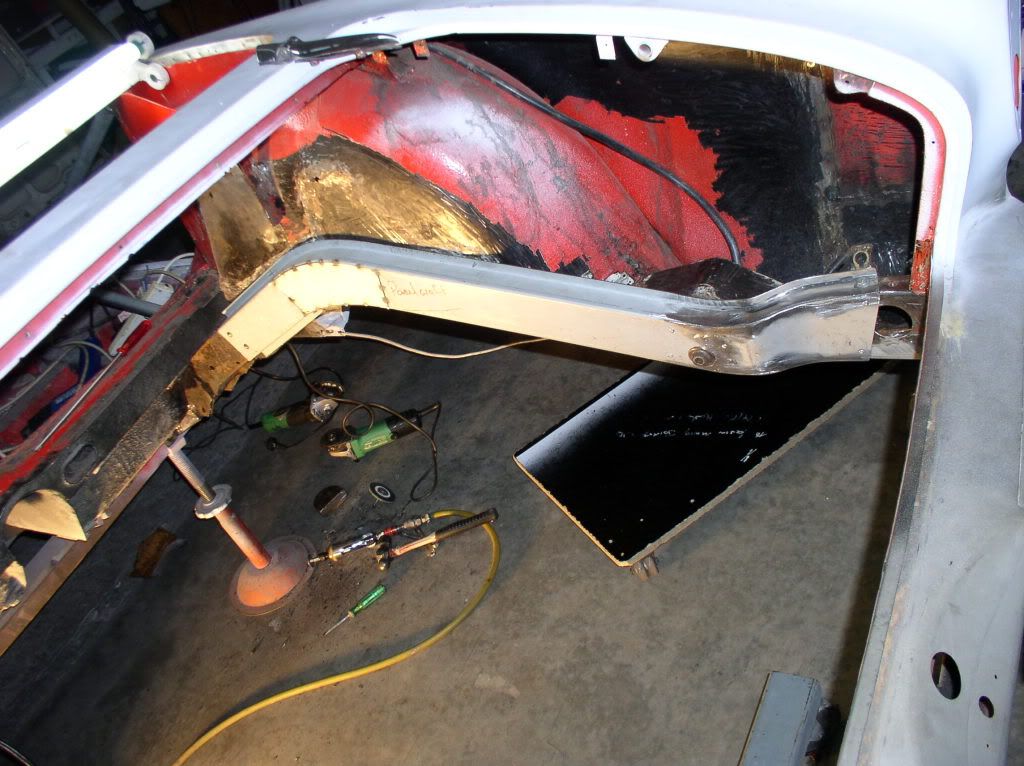
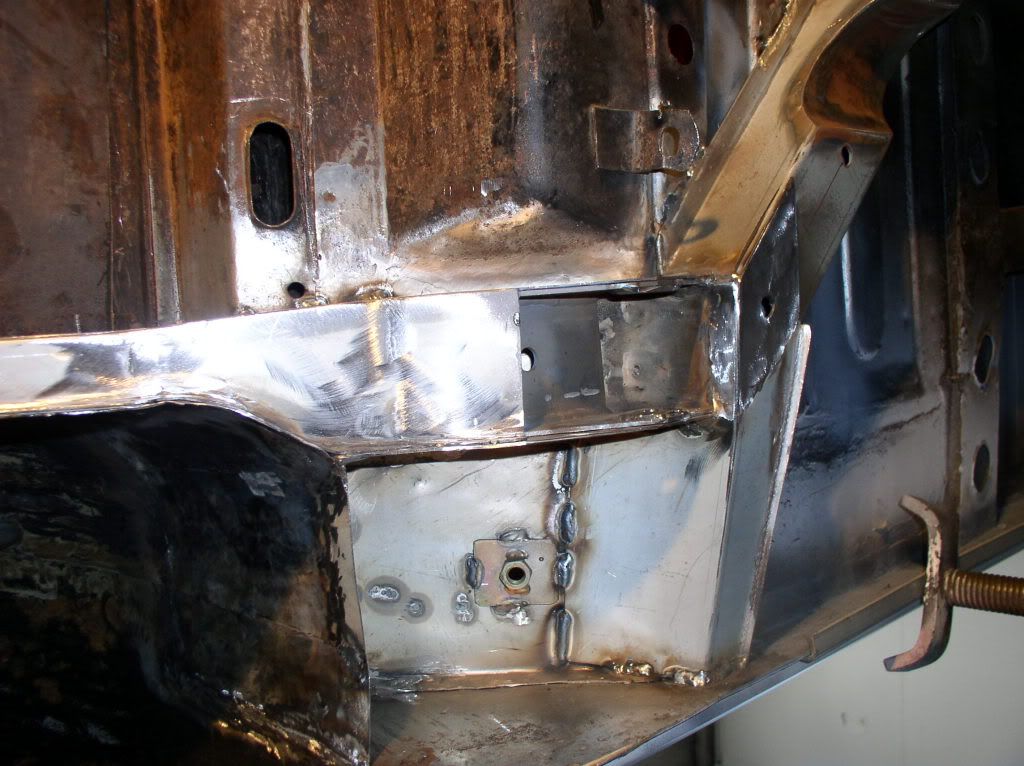
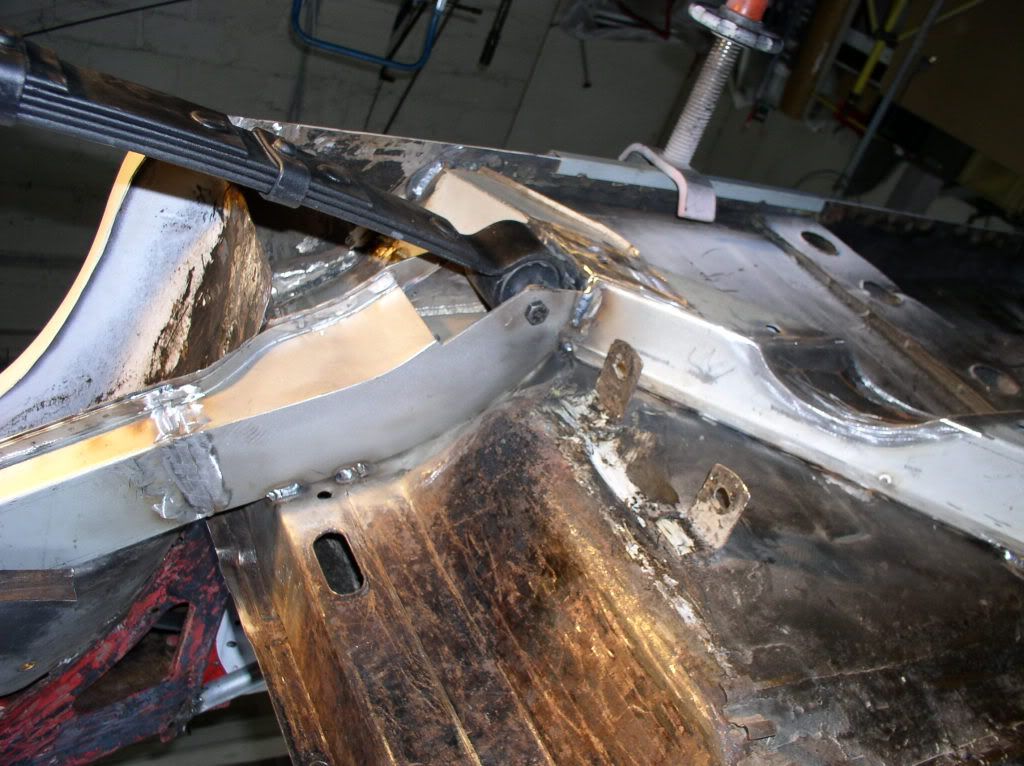
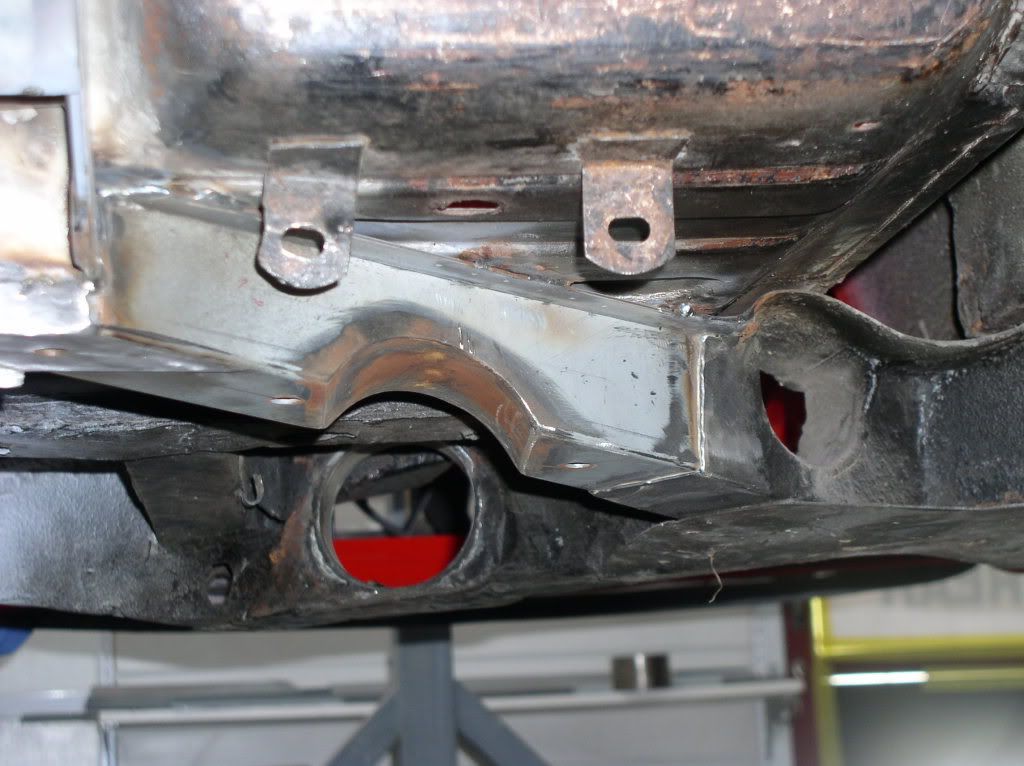
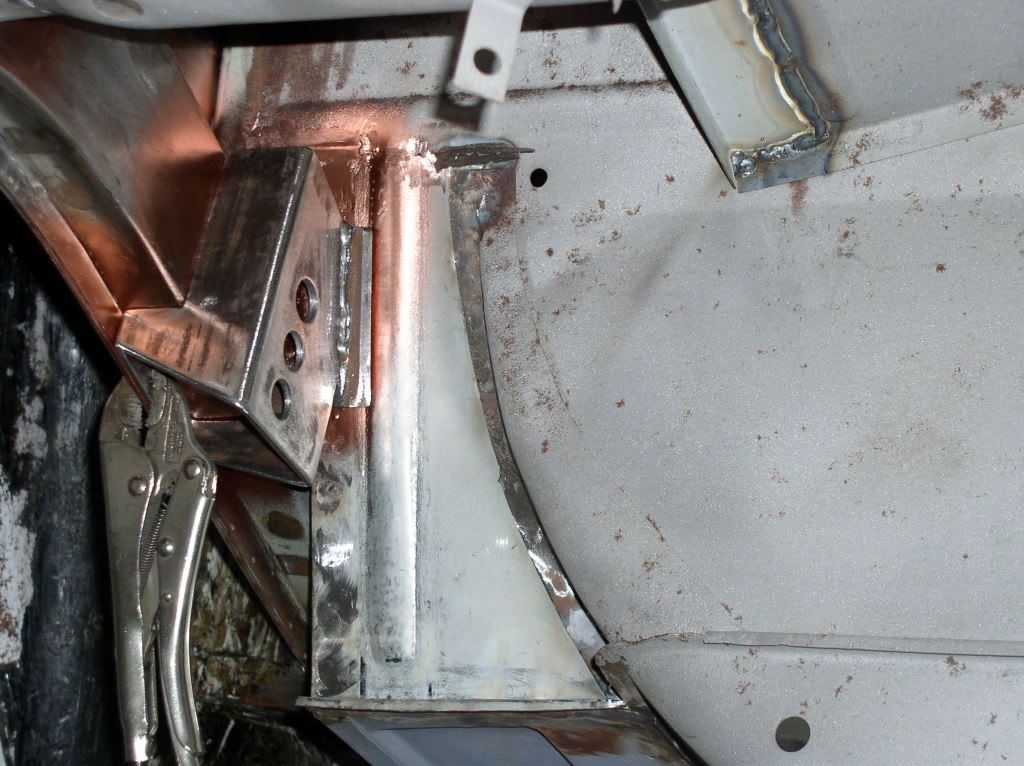
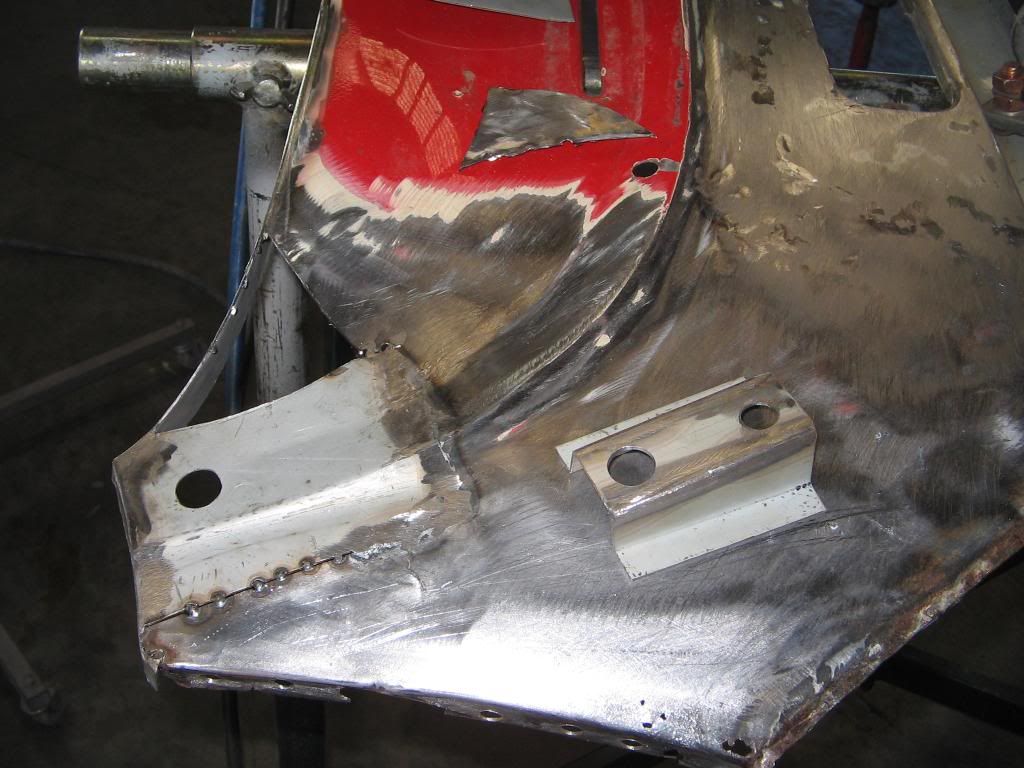
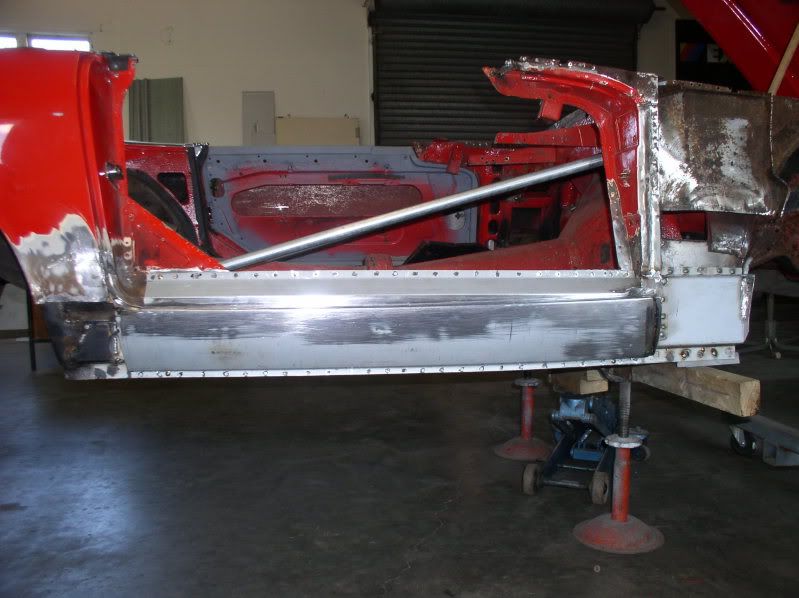
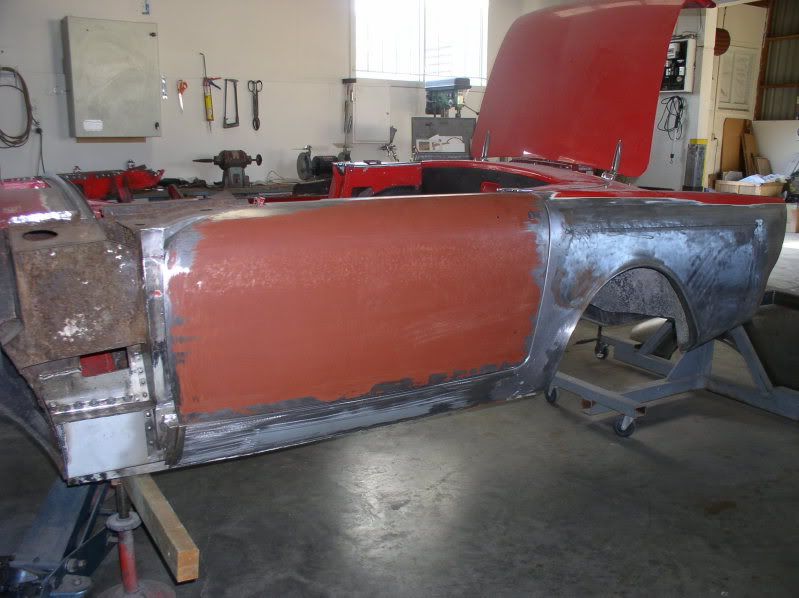
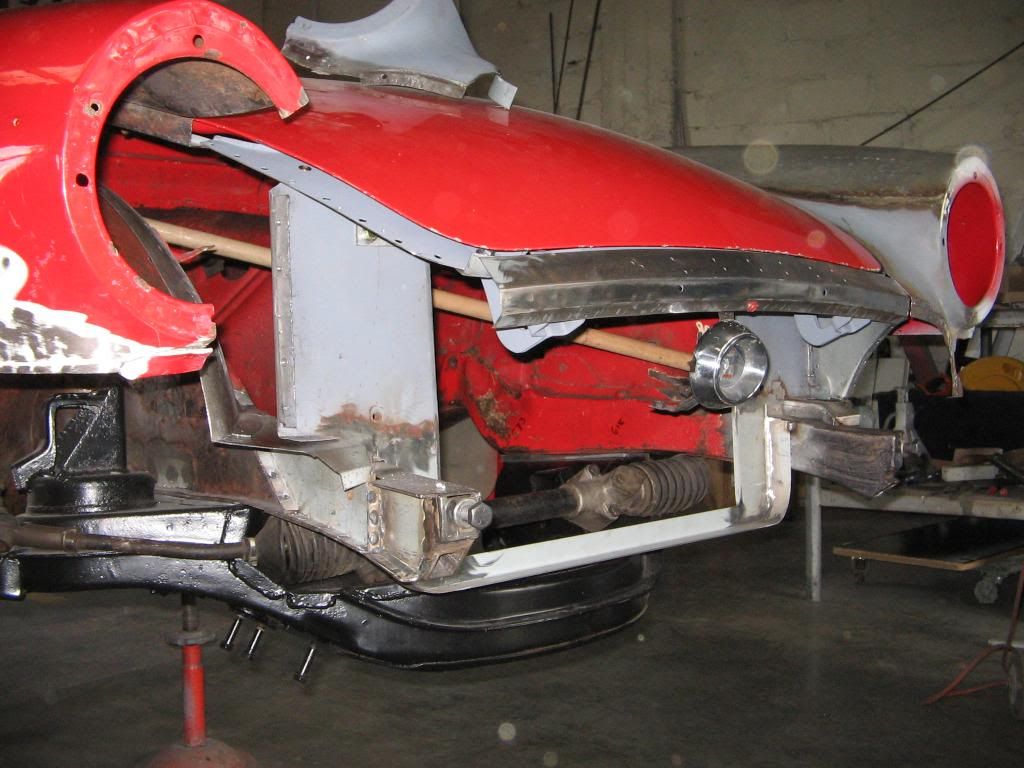
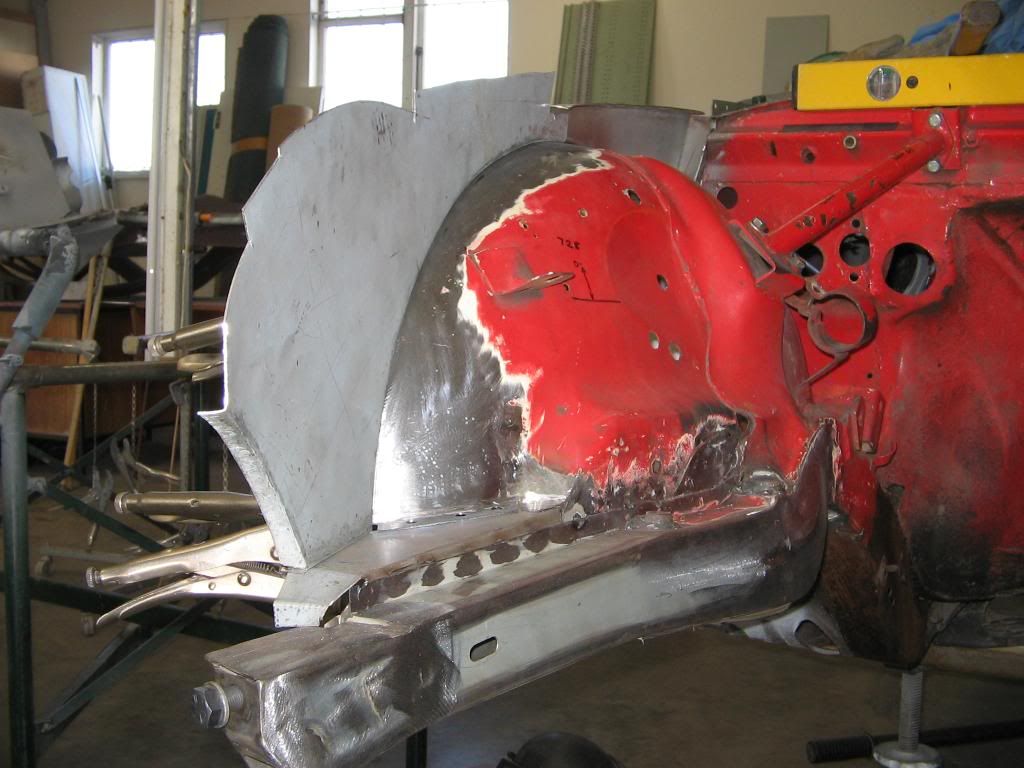
A bit more than expected

017.jpg


005.jpg


004-1.jpg


Tims-2224.jpg


229.jpg


011.jpg
 
144.jpg


90b4e4cc.jpg


We decided to seal the air from escaping the radiator and decided we didn't need the crank handle hole. Donor car been involved here. Small chin spoiler as well.

191a6f63.jpg


Wanted more rome for the rpm intake and carb spacer. I found an old hood with an ugly scoop on it so we put a power bulge in and vents. I have never been a great fan of the LAT hood.

47787d67.jpg


We thought we were on the home straight, then we found this. Wife not so happy
053ba2ef.jpg


d480516a.jpg


f30770a4.jpg
 
Nice work.........few things in life excite me more than a good panel beater, torch and grinder. Throw in an English wheel and ................

Mike
 
I for one am in absolute awe of everything that is going on here. It seems you are virtually replicating the Rootes assembly line and Jensen works modifications. And your welds are looking a lot better than what was being laid down in the 60's!

I have one little thought to pass along from the gallery. Since you are indeed replicating much of the construction, you are also somewhat at risk of building in some of the original weaknesses. Looking at your most recent pictures, the front mounts for the front eyelet of the rear springs caught my eye. As Tom Hall at Modtigerengineering has pointed out, our frames crack there because of the natural hinge in that area from the design and construction. You might as well address that weakness there now as part of your reconstruction. I myself am hoping I can get my cracks there rewelded and reinforcing plates installed this weekend. Hence the picture of that part of the chassis caught my eye!


Best wishes for your success in this major undertaking!

Cheers, Gene
 
I have one little thought to pass along from the gallery. Since you are indeed replicating much of the construction, you are also somewhat at risk of building in some of the original weaknesses. Looking at your most recent pictures, the front mounts for the front eyelet of the rear springs caught my eye. As Tom Hall at Modtigerengineering has pointed out, our frames crack there because of the natural hinge in that area from the design and construction. You might as well address that weakness there now as part of your reconstruction. I myself am hoping I can get my cracks there rewelded and reinforcing plates installed this weekend. Hence the picture of that part of the chassis caught my eye!


Gene,
I have the info from mod engineering and given it to my panel man. He has constucted the chassis rails and spring eye area out of heavier guage metal than original. It is also welded to the underside of the car more-so than factory. It is joined to the cross member with susbtantially more welds. It has generaly been built a lot stonger than factory. He said I would not need the gussets to brace the connection of the spring eye to the X frame. But of course the opportunity is still there to do so.

Good luck in getting yours done this weekend. I hope you don't find any nasties.
Cheers Mal
 
Thanks Mal,

Great to hear about the better metal being used. A very smart thing to do.

I am sure you are addressing the panhard rod mount and orientation as well. Please keep us posted on additional upgrades you are making as things progress.

Cheers, Gene
 
A bit of insurance

My 2 cents input; don't under estimate the stresses on the forward spring eye mount. These simple gussets have saved us a lot of headaches over the years. randy w
 
Randy, I very much like your version of the reinforcement. I actually was thinking some sort of triangulation as a part of any reinforcement would be very helpful in resisting hinging motion stresses. Especially if the base it was welded to was thicker than the existing channels.

I am going to add something like this to my planned reinforcements. If it is not a trade secret, may I ask what gauge of steel you used and whether or not it is hot or cold rolled?

Thanks, Gene
 
To answer Gene

That stuff measures a fuzz less than 1/8" ish. Cold. It's laying around the shop and we just grab what's handy when it's time to stick something together (not a joke). I'm blessed with 3 welders & tin bangers with generations of experience to call on who keep me squared away and out of danger. Note the gusset photo again, you'll see corner spacing to help prevent things from trapping dirt and moisture. Not always possible to achieve, but should always be considered.
 
Thanks for the pic's Randy. I think I will have a chat with my panel man. At this stage there is not a lot of work in putting them on.

Cheers Mal
 
Mal,

While the car is so stripped down and accesible i think its better to brace the spring hangers, while you may have used a thicker gauge the stresses going in are the same.. you have added more resistance in the material, but the load twisting the other direction will still stress the metal.. yours may take longer to fail, may twist a bit instead of cracking.. it may be strong enough not to suffer the normal issues.. but for the little extra effort brace it and know you dont have to worry about if it will fail.
 
Randy, thanks very much for the details on the metal. I actually had enough cold rolled sheet the right thickness to make a couple of gussets. They will be going in with everything else Monday morning. Your sharing all of this information is greatly appreciated.

Cheers, Gene
 
cobrakidz

Not my talent. The work is being done by a pro. But I did scrape of the underseal, and have more to do.
 
A simple question, after all the work undertaken, can you confirm the origional underneath body is primed a dark red, covered with noise/stone black covering. This is apparently except for the front inner guards, painted body colour.
 
Steven, As far as I have found with the removel of the old underseal the paint is a red oxide type primer. Once i wash off the residual underseal with petrol i will see more.

Cheers Mal
 
Back
Top